Rust Git 環境準備 : VS Code
- 剛入門,發現學習或開發 Rust 應用程式,一般建議的 IDE 是 Visual Studio Code 或是 RustRover,不然就是一些加強版的文字編輯器搭配 command line 指令。
- 因為電腦裡已經有安裝 VS Code 跟 Visual Studio 了,所以暫時先選用 VS Code,畢竟 Rust 官方 Windows 安裝文件步驟中要求安裝 C++ Build Tools 套件是經由安裝 Visual Studio。所以,就用它啦。
- 晚些再換成 RustRover,畢竟先前練習 Python 已經先選用 IntelliJ/JetBrains 家的工具了。不然快速鍵打架時真的會用到抓狂。
- 不熟悉 VS Code 的 Git 操作所以寫了這份筆記。
事前準備
- 安裝 VS code
- 安裝 Git
- 準備一個 Git Repo: 例如 Rust_Exercise
下載 Git Repo
- clone repo from VS Code
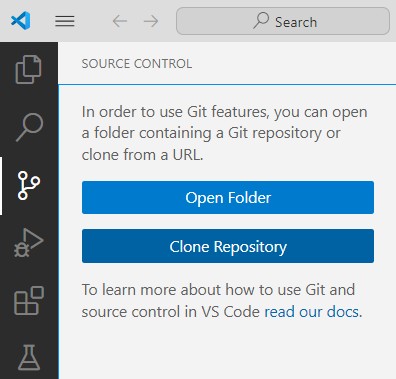
- 開啟新的 Window
- 填入 remote repo trunk 位置
- 填入 local trunk 位置
- 自動下載遠端資訊
- 完成
- 建立 Rust src, target 等基本資料夾
VS Code Git 相關操作位置
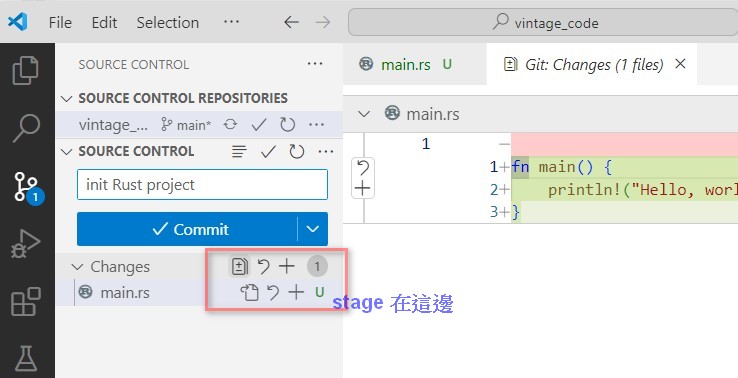
Stage 操作要將滑鼠移到 Source Control Panel / Changes / 檔案旁才會出現操作 icons
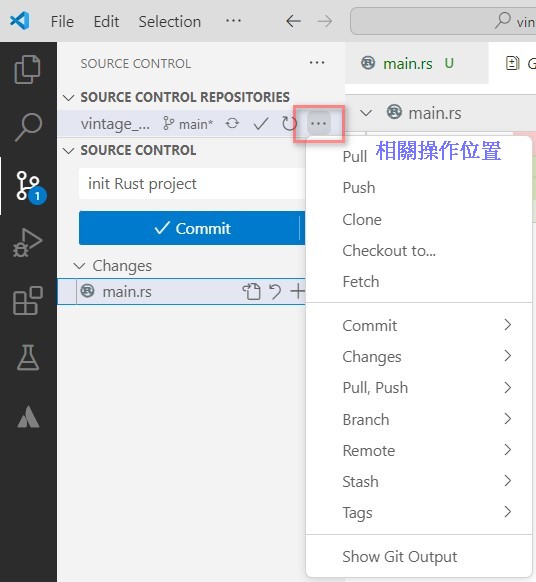
Git 其他操作位置: pull/push/stash 等等,同樣也要自行點開
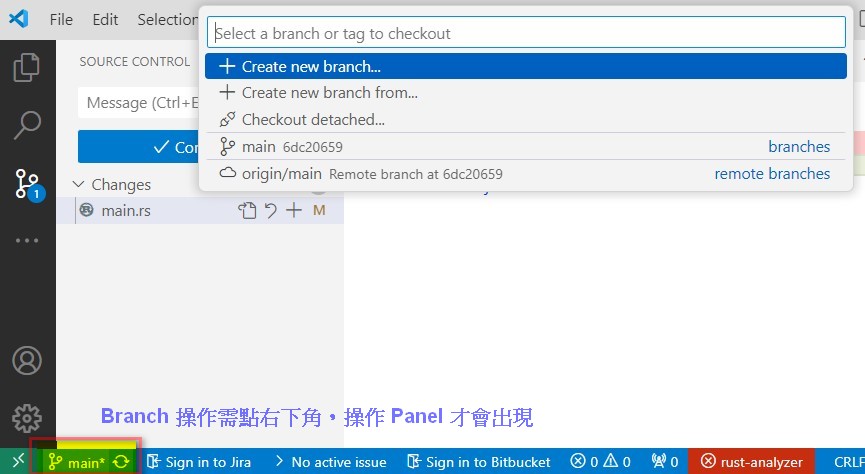
Git Branch 操作: 要點右下角 branch name 才會出現
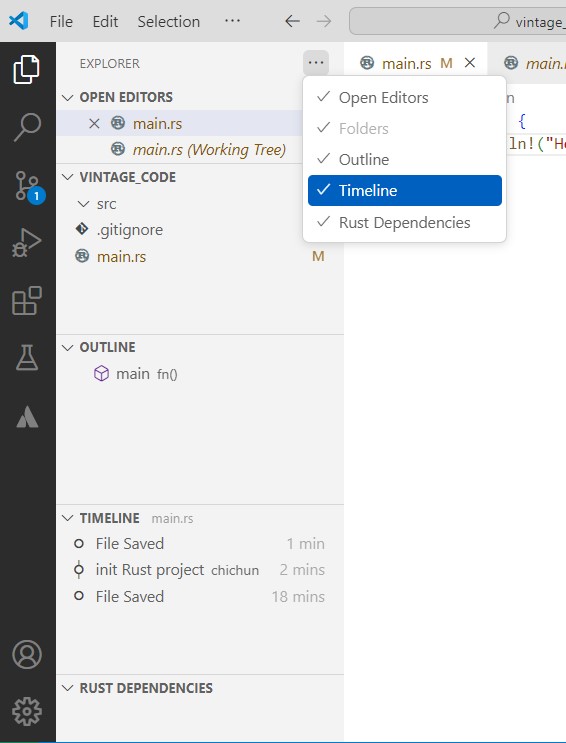
Local Timeline (History) 檢視 :單一檔案 local history
Git Commit History: 可選安裝 plugin Git History by Don Jayamanne
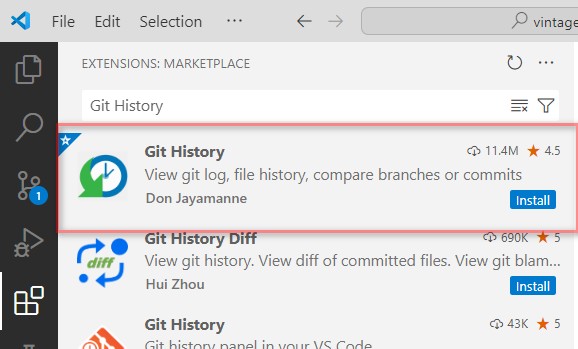
Git History plugin 操作
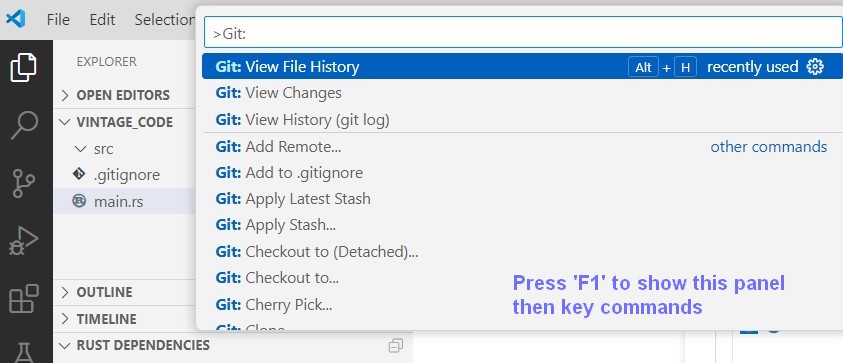
- F1 : 開啟工具 ,輸入下列指令以開啟相關 Panels
- Git: View Git History (git log)
- Git: View File History
- Git: View Line History
